
Envirovent Silent 100 Installation Guide: A Comprehensive Plan
This guide details the installation of your Envirovent Silent 100‚ covering features‚ functions‚ and operating instructions for a smooth‚ efficient setup process.
Welcome to the world of effective ventilation! The Envirovent Silent 100 is a high-performance extractor fan designed to quietly and efficiently remove moisture and odors from your bathroom or other similar spaces. This guide will walk you through the entire installation process‚ ensuring a successful and trouble-free experience.
Understanding its features and functionalities is key to maximizing its benefits. The Silent 100 boasts a remarkably quiet operation‚ making it ideal for noise-sensitive environments. It’s built for reliability and longevity‚ offering years of dependable service. This manual provides essential operating instructions and detailed steps for a proper installation‚ allowing you to enjoy a fresher‚ healthier indoor climate.
Safety Precautions
Prioritize safety during installation! Always disconnect the power supply at the mains before commencing any electrical work. Incorrect wiring can pose a serious hazard. Wear appropriate safety glasses to protect your eyes from debris during drilling and cutting.
If you are uncomfortable working with electricity‚ consult a qualified electrician. Ensure the installation complies with all local building regulations and electrical standards. Never attempt to modify the fan unit itself. Use caution when working at height‚ employing a stable ladder and appropriate fall protection. Keep children and pets away from the work area. Following these precautions will ensure a safe and successful installation.
Unboxing and Component Check
Carefully unpack the Envirovent Silent 100 and verify all components are present. The box should contain the fan unit‚ flexible ducting (length varies by kit)‚ an external cowl/grille‚ a control switch or timer (if included)‚ mounting screws and brackets‚ and this installation guide.
Inspect each item for any signs of damage during shipping. If any parts are missing or damaged‚ immediately contact the retailer or Envirovent support. Do not proceed with the installation until all necessary components are accounted for and in good condition. A thorough check now prevents delays later.
Identifying the Fan Unit
The Envirovent Silent 100 fan unit is a centrifugal fan designed for quiet and efficient ventilation. Locate the air inlet and outlet ports – the outlet connects to ducting. Note the control box housing‚ which accommodates the timer or speed control (if fitted);
Examine the unit’s casing for any pre-drilled mounting holes. Familiarize yourself with the location of the terminal block for electrical connections. Ensure the fan is the correct model (Silent 100) as indicated on the label. Understanding these features will simplify the installation process significantly.
Ducting Components Inventory
Verify all ducting components are present: flexible ducting (typically 100mm diameter)‚ ducting clips or tape for secure connections‚ and potentially an extension piece if needed. Check for the external vent cowl or grille‚ ensuring it’s appropriate for your wall or roof type.
Confirm you have sufficient ducting length to reach the external vent without excessive bends. Inspect the ducting for any damage during shipping; A complete inventory prevents delays during installation. Note any missing parts and contact the supplier immediately for replacements before proceeding.
Control Switch/Timer Verification
Before installation‚ verify the control switch or timer functions correctly. If a standard switch‚ ensure it’s rated for the fan’s voltage and amperage. For timer models‚ test all programmed settings – run-on times‚ intervals‚ and override functions. Confirm the timer is compatible with inductive loads‚ preventing damage.
Check for any visible damage to the switch or timer unit. Incorrect operation at this stage indicates a faulty component requiring replacement. Proper verification avoids frustrating issues post-installation and ensures optimal fan control.
Tools Required for Installation
Successful installation demands specific tools. You’ll need a screwdriver set (Phillips and flathead)‚ a drill with appropriate bits for your wall/ceiling material‚ a measuring tape for accurate ducting lengths‚ and a pencil for marking locations. A stud finder is crucial for secure mounting‚ avoiding hidden pipes or wires.
Additionally‚ consider a hole saw for creating vent openings‚ sealant (silicone or acoustic) to prevent drafts‚ wire strippers for electrical connections‚ and safety glasses. Having these tools prepared beforehand streamlines the process‚ ensuring a professional and safe installation.

Planning the Installation Location
Careful location planning is vital for optimal performance. Assess your bathroom or room‚ ensuring adequate space for the fan unit and ducting. Prioritize areas with high humidity‚ like near the shower or bath‚ but avoid direct water exposure. Consider the distance to the external wall for ducting runs – shorter is better for efficiency.
Crucially‚ avoid obstructions like joists or pipes within the wall cavity. Ensure sufficient airflow around the fan‚ and check for existing ventilation to prevent conflicts. Proper planning minimizes noise and maximizes the Silent 100’s effectiveness.
Bathroom/Room Suitability Assessment
Before installation‚ thoroughly assess the room’s suitability. Bathrooms and utility rooms are ideal due to consistent moisture. Ensure the room volume aligns with the fan’s extraction rate – a larger room may require a more powerful unit. Check for existing ventilation systems; the Silent 100 complements‚ but doesn’t replace‚ natural ventilation.
Consider potential condensation sources. Rooms prone to dampness benefit significantly. Avoid installing in areas with flammable materials nearby. A proper assessment guarantees optimal performance and longevity of your Envirovent Silent 100.
Avoiding Obstructions and Moisture Sources
Careful placement is crucial for optimal performance. Avoid locating the Envirovent Silent 100 directly above a shower or bath where splashing could occur. Maintain a minimum clearance of 600mm (2ft) from water sources. Ensure the chosen location isn’t obstructed by furniture‚ curtains‚ or other items that could impede airflow.
Inspect for hidden pipes or wiring before drilling. Damp walls or ceilings indicate potential moisture ingress; address these issues before installation. Proper positioning maximizes extraction efficiency and prevents potential damage to the unit.
Core Installation Steps ー Fan Unit
Begin by carefully preparing the mounting surface. Mark the screw hole positions using the fan unit as a template‚ ensuring accurate alignment. Pre-drill pilot holes to prevent wood splitting and facilitate easier screw insertion. Gently position the fan unit against the wall or ceiling‚ aligning it with the pre-drilled holes.

Proceed to secure the unit using appropriate screws (see section on screw types). Ensure the fan is firmly attached and doesn’t wobble. Double-check the unit’s stability before moving onto ducting installation. A secure mount minimizes noise and vibration.
Mounting the Fan Unit to the Wall/Ceiling
Prior to mounting‚ verify the chosen location meets suitability criteria (see planning section). Carefully position the Envirovent Silent 100 against the prepared surface – wall or ceiling – ensuring it’s level. Use a spirit level for precise alignment. Mark the screw hole locations using a pencil‚ utilizing the fan unit’s mounting bracket as a guide.
Pre-drilling pilot holes is crucial‚ especially for solid surfaces‚ to prevent cracking and simplify screw insertion. Ensure the holes are appropriately sized for the chosen screws. Proper mounting guarantees stability and minimizes operational noise.
Securing the Unit – Screw Types & Techniques
For secure mounting‚ utilize appropriate screws designed for the wall/ceiling material. Wood screws are suitable for timber frames‚ while masonry screws are essential for brick or concrete. Avoid over-tightening‚ which can damage the fan housing or the mounting surface. Start screws by hand to prevent cross-threading.
Employ a screwdriver with the correct bit size for a snug fit. Consider using wall plugs with masonry screws for enhanced stability. Ensure all screws are flush with the mounting bracket‚ preventing any obstruction to the fan unit’s operation. Double-check tightness after initial installation.
Ducting Installation
Proper ducting is crucial for optimal performance. Begin by connecting flexible ducting securely to the fan outlet‚ utilizing a hose clamp to prevent air leaks. Ensure the ducting is fully extended and free from kinks or sharp bends‚ which restrict airflow. Route the ducting carefully through walls or the roof‚ maintaining a smooth‚ unobstructed path.
Insulate ducting in cold areas to prevent condensation. Seal all joints with duct tape to maximize efficiency. Avoid excessively long duct runs‚ as they reduce fan effectiveness. Regularly inspect ducting for damage and repair as needed to maintain consistent ventilation.
Connecting Flexible Ducting to the Fan Outlet
Securely attach the flexible ducting to the Envirovent Silent 100’s fan outlet. Gently slide the ducting over the outlet spigot‚ ensuring a snug fit. Utilize a hose clamp‚ tightening it firmly but avoiding over-compression‚ which could damage the ducting. Verify the connection is airtight to prevent performance loss.
Consider using ducting tape for added security‚ especially at the joint. Ensure the ducting isn’t kinked or bent sharply immediately after the fan outlet‚ as this restricts airflow. A smooth‚ gradual curve is ideal for optimal ventilation efficiency and quiet operation.
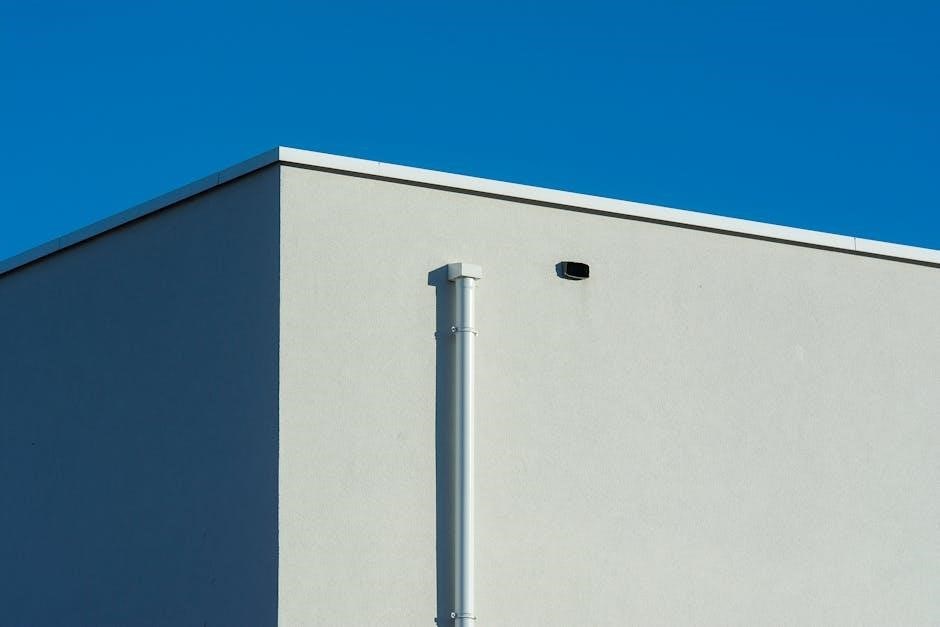
Routing Ducting Through Walls/Roof
Carefully route the flexible ducting through pre-prepared openings in walls or the roof. Ensure the path is as direct as possible‚ minimizing bends and length to maintain airflow. Use appropriate wall/roof penetration kits to seal around the ducting‚ preventing moisture ingress and maintaining building insulation.
Secure the ducting with ducting supports every meter to prevent sagging and potential damage. Avoid running ducting through areas prone to extreme temperatures or direct sunlight. When passing through the roof‚ ensure a weatherproof seal is achieved to prevent leaks and maintain structural integrity.
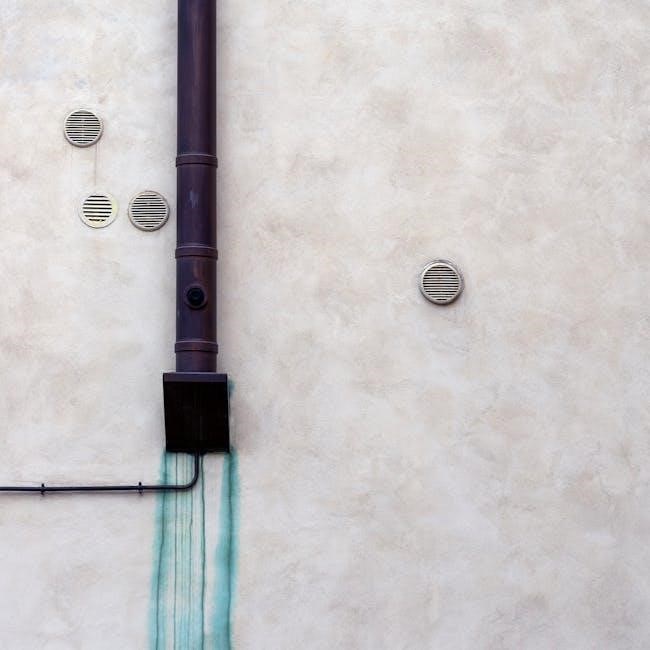
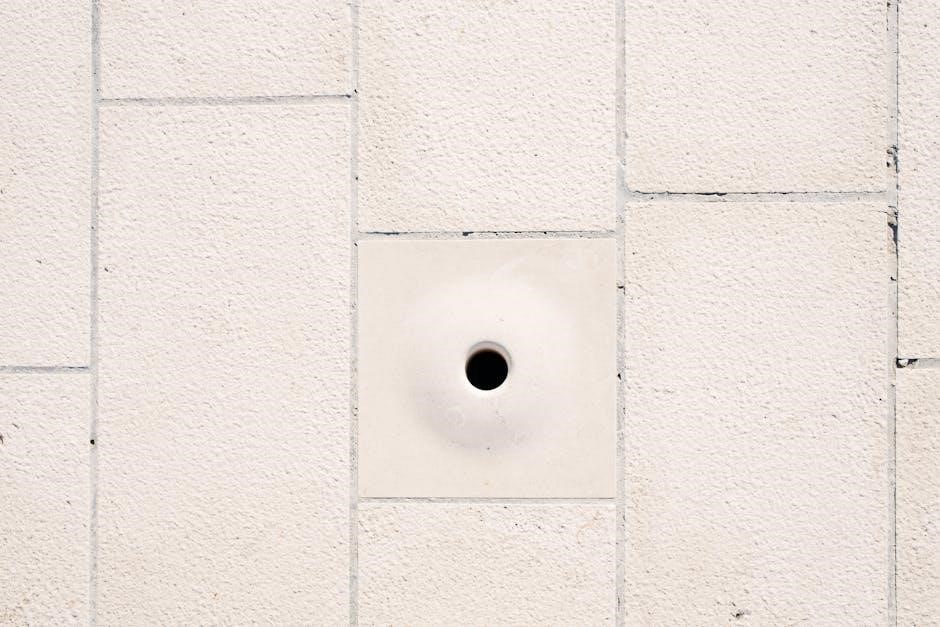
External Vent Installation
Proper external vent installation is crucial for efficient fan operation. Select a cowl or grille designed to prevent bird nesting and rain ingress‚ ensuring unrestricted airflow. Mount the vent in a sheltered location‚ away from prevailing winds‚ to minimize backdraft. Securely fasten the vent using appropriate screws and wall plugs‚ suitable for the building material.
Ensure the external vent is positioned to allow for easy future cleaning and maintenance. Check local building regulations regarding vent placement and aesthetics. A correctly installed vent maximizes performance and prevents moisture buildup within the ducting system‚ prolonging the fan’s lifespan.
Cowl/Grille Selection and Mounting
Choosing the right cowl or grille is vital. Opt for models specifically designed for ventilation fans‚ preventing bird entry and rain penetration while maximizing airflow. Consider adjustable cowls to counter prevailing wind direction. Mounting requires careful consideration; ensure a secure fit using appropriate screws for your wall type – brick‚ wood‚ or render.
Seal any gaps around the vent with weatherproof sealant to prevent moisture ingress. The vent should be positioned to avoid obstructions like foliage or overhanging eaves. Regularly inspect the cowl/grille for blockages and maintain clear airflow for optimal fan performance and longevity.
Electrical Connection
Prioritize safety: disconnect the mains power supply before commencing any electrical work. The Envirovent Silent 100 requires connection to a suitable electrical circuit‚ adhering to local regulations (UK/EU/US standards). A qualified electrician is recommended for this stage. Carefully examine the wiring diagram provided with the unit‚ identifying live‚ neutral‚ and earth connections.
Ensure correct wire gauge is used for the current draw. Securely connect the wires using appropriate connectors within the junction box‚ avoiding loose connections. Double-check all connections before restoring power‚ and always test with a qualified professional.
Wiring Diagram Explanation
The wiring diagram illustrates the connection points for live (L)‚ neutral (N)‚ and earth (E) wires. Typically‚ brown is live‚ blue is neutral‚ and green/yellow is earth – however‚ always verify with a voltage tester. The diagram also shows connections for optional features like the control switch or timer.
Pay close attention to the terminal block markings. Incorrect wiring can damage the fan or create a safety hazard. If unsure‚ consult a qualified electrician; The diagram clarifies how to wire the fan for standard operation and with accessory controls‚ ensuring proper functionality and safety compliance.
Connecting to the Power Supply (UK/EU/US Standards)
In the UK‚ connect to a 230V AC supply via a fused spur‚ adhering to BS 7671 regulations. EU installations require 230V AC‚ complying with IEC standards and local wiring rules. US installations utilize 120V AC‚ following NEC guidelines. Always isolate the power supply before making connections.
Ensure the circuit breaker is appropriately sized for the fan’s amperage. Double-check polarity – live to live‚ neutral to neutral‚ and earth to earth. Securely connect the wires within the terminal block‚ avoiding loose connections. Proper grounding is crucial for safety and preventing electrical shock.
Control Switch/Timer Installation
Install the control switch or timer within easy reach‚ ensuring compliance with local building regulations. For a standard switch‚ connect the live wire from the power supply to the switch’s common terminal; Connect the switched live wire to the fan’s live terminal. Timer installations require connecting the fan’s live wire to the timer’s switched output.
Neutral wires connect directly from the power supply to the fan. Earth wires must be securely connected to both the switch/timer and the fan’s earth terminal. Always isolate the power before wiring. Test the switch/timer functionality after installation.
Testing the Installation
After completing all connections‚ restore power cautiously and verify the fan’s operation. Activate the fan using the installed control switch or timer. Listen for any unusual noises‚ indicating potential issues with the fan unit or ductwork. Check airflow at the external vent to confirm effective extraction.
Ensure the fan starts and stops reliably with the control mechanism. Monitor for any electrical smells or sparks. If problems arise‚ immediately disconnect power and revisit the wiring. A successful test confirms proper installation and optimal performance.
Noise Reduction Techniques
Minimizing noise is crucial for a comfortable environment. Utilize flexible ducting to dampen vibrations transmitted from the fan unit. Ensure secure mounting‚ as loose installations amplify sound. Consider acoustic boxing around the fan unit‚ lining it with sound-absorbing materials like mineral wool.
Check ductwork runs for direct contact with building structures; isolate with rubber hangers. Verify the external cowl isn’t rattling in the wind. Proper installation and these techniques significantly reduce operational noise‚ maximizing the ‘Silent’ benefit of your Envirovent 100.
Troubleshooting Common Issues
If the fan doesn’t operate‚ first check the power supply and wiring connections. A tripped breaker or loose wire is often the culprit. For reduced airflow‚ inspect the ducting for kinks or obstructions‚ ensuring a clear path for ventilation. Unusual noises may indicate a loose fan mounting or vibrating ductwork – tighten fixings accordingly.
If condensation appears‚ verify proper external venting and consider improving insulation. Regularly cleaning the fan and ducting prevents performance decline. Consult the full manual or support resources for more complex issues.
Maintenance and Cleaning
Regular maintenance ensures optimal performance and extends the lifespan of your Envirovent Silent 100. At least twice yearly‚ disconnect power and carefully remove the fan cover. Clean the impeller and interior surfaces with a soft‚ damp cloth‚ removing any dust or debris accumulation. Inspect the ducting for blockages and clear as needed.
Avoid using abrasive cleaners or solvents. Check mounting screws for tightness. A clean fan operates more efficiently and quietly. Consistent cleaning prevents issues and maintains air quality‚ contributing to a healthier home environment.
Regulatory Compliance & Building Regulations
Installation must adhere to local building regulations concerning ventilation and electrical work. Ensure compliance with wiring standards (UK‚ EU‚ or US) and any specific requirements for bathroom or kitchen ventilation. The Envirovent Silent 100 is designed to meet relevant safety standards‚ but correct installation is crucial for maintaining this compliance.
Check for regulations regarding backdraft dampers and external vent placement. Incorrect installation could void the warranty and potentially create safety hazards. Always consult a qualified electrician or building professional if unsure about any regulatory aspect.
Warranty Information
The Envirovent Silent 100 is covered by a manufacturer’s warranty against defects in materials and workmanship for a period of two years from the date of purchase. This warranty covers repair or replacement of the unit‚ at the manufacturer’s discretion. The warranty is void if the unit is misused‚ improperly installed‚ or damaged due to negligence.
Proof of purchase is required for all warranty claims. Modifications or repairs performed by unauthorized personnel will also invalidate the warranty. Contact Envirovent support for assistance with warranty claims and to understand the full terms and conditions.
Frequently Asked Questions (FAQ)
Q: Can I install the Envirovent Silent 100 myself? A: While possible‚ professional installation is recommended to ensure compliance with building regulations and optimal performance. Q: What ducting size is compatible? A: The Silent 100 uses 100mm (4 inch) ducting.
Q: How often should I clean the fan? A: Cleaning every six months is advised to maintain efficiency. Q: What if the fan is noisy after installation? A: Check ducting for obstructions and ensure secure mounting. Contact support if the issue persists.
Envirovent Silent 100 Technical Specifications
Airflow Rate: Up to 85 m³/h (50 CFM). Noise Level: As low as 24 dBA. Supply Voltage: 220-240V AC‚ 50Hz (UK/EU) or 110-120V AC‚ 60Hz (US). Power Consumption: 18.5W. Duct Diameter: 100mm (4 inches). Fan Speed: Adjustable via timer or speed controller (sold separately).
Operating Temperature: 5°C to 40°C. Humidity: 30% ー 70%. IP Rating: IP44 (splashproof). Weight: Approximately 2.5kg. Mounting Options: Wall or ceiling. These specifications ensure efficient and quiet ventilation for your home.
Spare Parts and Accessories
Replacement Filters: Regularly replacing filters (every 6-12 months) maintains optimal performance. Flexible Ducting: Available in various lengths and diameters for customized installations. Ducting Connectors: Ensure airtight seals between duct sections. Speed Controllers: Allow adjustable fan speed for personalized comfort.
Timers: Offer automated operation‚ enhancing convenience and energy efficiency. Wall Mounting Kits: Provide secure and stable installation options. Grille/Cowl Replacements: Available in different styles to suit aesthetic preferences. Contact Envirovent directly or authorized retailers for genuine parts and accessories.
Contact Information & Support Resources
Envirovent Website: Visit www.envirovent.com for detailed product information‚ FAQs‚ and downloadable resources. Customer Support Hotline: Call +44 (0)1844 260008 for direct assistance with installation or troubleshooting. Email Support: Reach out to info@envirovent.com for inquiries and technical support.
Online Forums: Engage with other users and share experiences on dedicated ventilation forums. Installation Guides & Videos: Access comprehensive guides and video tutorials on the Envirovent website. Authorized Dealers: Locate a local dealer for product purchases and professional installation services.