Welcome to the Honeywell T6 Pro Installation Manual. This guide provides step-by-step instructions for installing your new thermostat‚ ensuring compatibility and optimal system performance.
Key Features and Benefits of the Honeywell T6 Pro Thermostat
The Honeywell T6 Pro Thermostat offers a sleek‚ modern design with a high-resolution color touchscreen. It features advanced smart home integration‚ geofencing‚ and smart recovery for optimal energy efficiency. With voice control compatibility and adaptive learning‚ it ensures personalized comfort. Its intuitive interface simplifies scheduling and adjustments‚ while remote access via the Honeywell Home app provides convenience. Designed for energy savings and seamless performance‚ the T6 Pro enhances your home’s climate control system.
System Requirements and Compatibility
The Honeywell T6 Pro Thermostat is designed to work with most standard HVAC systems‚ including gas‚ oil‚ electric‚ and heat pumps. It requires a 24V AC power supply and is compatible with single-stage‚ two-stage‚ and multi-stage systems. Ensure your system has a common wire (C-wire) for proper installation. The thermostat is also compatible with zoning systems and works seamlessly with smart home platforms for enhanced functionality and energy efficiency. Always verify compatibility before installation.

Pre-Installation Preparation
Begin by turning off power to your HVAC system at the circuit breaker. Gather all required tools and materials‚ referencing the manual for specifics. Understand the wiring diagram and take photos of your current thermostat’s connections for easy reference during installation. This ensures a smooth and accurate setup process.
Tools and Materials Needed for Installation
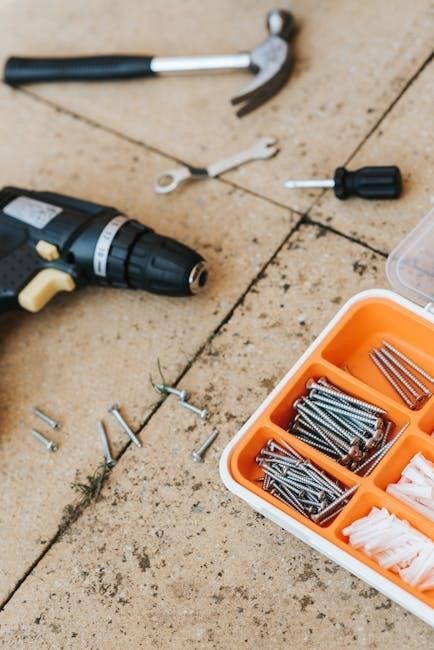
To install the Honeywell T6 Pro‚ you’ll need a flathead screwdriver‚ Phillips screwdriver‚ pliers‚ wire strippers‚ and a voltage tester. Ensure you have the thermostat unit‚ mounting bracket‚ screws‚ and wall anchors. Additional materials may include a drill for pilot holes and a broadband router for Wi-Fi connectivity. Refer to the manual for specific requirements to ensure a seamless installation process.
- Flathead and Phillips screwdrivers
- Pliers and wire strippers
- Voltage tester
- Mounting bracket and screws
- Wall anchors (if needed)
- Drill (for pilot holes)
- Broadband router (for Wi-Fi setup)
- Batteries (included with the thermostat)
Understanding the Wiring Diagram
The wiring diagram outlines the connections required for the Honeywell T6 Pro. Review the diagram to identify terminals for heating‚ cooling‚ and power. Match each wire from your system to the corresponding terminal on the thermostat. Ensure proper labeling and avoid cross-connections to maintain functionality. If unsure‚ consult a licensed electrician to prevent errors. Correct wiring is essential for optimal system performance and safety.
Disconnecting the Old Thermostat
Before installing the Honeywell T6 Pro‚ disconnect power to the HVAC system. Switch off the circuit breaker or remove the fuse. Gently pull the old thermostat from the wall to access the wires. Label each wire with its terminal designation for reference. Disconnect the wires from the old thermostat‚ taking care not to damage them. Once disconnected‚ proceed with the new installation‚ ensuring safety and organization for a smooth transition.
Installation Steps
Install the metal bracket‚ secure it to the wall‚ and connect the wires to the appropriate terminals. Mount the thermostat‚ ensuring proper alignment and level placement.
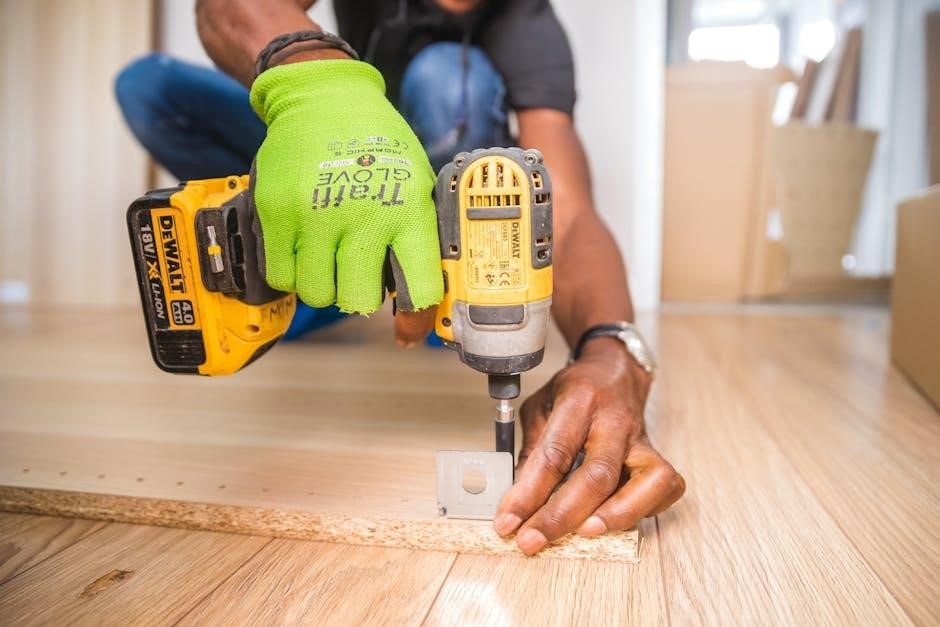
Metal Bracket Installation
The metal bracket serves as the foundation for your Honeywell T6 Pro thermostat. Begin by carefully removing the old thermostat and its mounting hardware. Use the provided screws to secure the metal bracket to the wall‚ ensuring it is level and properly aligned. If necessary‚ drill pilot holes for the screws to avoid damaging the wall. Once the bracket is firmly in place‚ it will be ready to accommodate the thermostat unit.
Mechanical and Electrical Connections
After installing the metal bracket‚ secure the Honeywell T6 Pro thermostat to it using the provided screws. Ensure all wires are correctly connected to their respective terminals‚ matching the labels from your old thermostat. Double-check the wiring diagram for accuracy. Once connected‚ power on the system and test all functions to confirm proper operation. This step ensures seamless communication between the thermostat and your HVAC system.
Mounting the Thermostat
Mount the Honeywell T6 Pro thermostat to the metal bracket using the provided screws. Ensure the device is level to guarantee accurate temperature readings. Gently press the thermostat onto the bracket until it clicks securely into place. Verify that all connections are tight and properly aligned. This step ensures the thermostat is stable and ready for electrical connections‚ providing a solid foundation for reliable system performance.
Wiring Configuration
Wiring configuration is critical for the Honeywell T6 Pro Thermostat. Properly connect input control wires to designated terminals‚ ensuring compatibility with your HVAC system for precise temperature control.
Terminal Designations
Understanding terminal designations is crucial for correct functionality. The Honeywell T6 Pro Thermostat uses standard terminals like R (24V)‚ W (heat)‚ Y (cool)‚ G (fan)‚ C (common)‚ and O (heat pump). Proper wiring ensures precise temperature control and system compatibility. Always refer to the wiring diagram for specific connections to avoid errors and ensure optimal performance. Correct terminal connections are vital for safe and efficient operation of your HVAC system.
Connecting Input Control Wires
Connecting input control wires requires precision to ensure proper system operation. Match the wires to their designated terminals based on the wiring diagram. Securely connect the R‚ W‚ Y‚ G‚ C‚ and O wires to their respective terminals. Double-check connections to avoid errors. Once wired‚ test the system to confirm functionality. Ensure all connections are tight and insulated to prevent short circuits. Proper wiring is essential for optimal HVAC system performance and safety.
Resolving Common Wiring Issues
Common wiring issues include loose connections‚ incorrect wire assignments‚ or damaged wires. To resolve these‚ first‚ turn off power to the system. Inspect wires for damage and ensure all connections are secure. Refer to the wiring diagram to confirm proper wire assignments. If issues persist‚ test each connection with a multimeter. Replace any damaged wires and recheck the system. Proper troubleshooting ensures reliable performance and safety. Always consult the manual for specific configurations.
Configuration and Setup
The Honeywell T6 Pro configuration involves initial system setup‚ guided by the manual. Follow on-screen instructions for network linking‚ schedule programming‚ and advanced settings customization.
Initial System Configuration
The initial system configuration of the Honeywell T6 Pro involves connecting the thermostat to your network and setting up basic operational parameters. Follow the manual’s guided setup process to link the device to your Wi-Fi and configure heating/cooling schedules. Ensure all system settings align with your HVAC equipment specifications for optimal performance. Refer to the manual for detailed instructions on syncing with smart home systems and enabling advanced features.
Setting Up the Schedule
Setting up the schedule on your Honeywell T6 Pro thermostat allows you to customize temperature settings for different times of the day. Access the scheduling menu via the thermostat or the Honeywell Home app. Define your preferred temperature settings for wake‚ leave‚ return‚ and sleep periods. Adjust the timing and temperature levels as needed to optimize comfort and energy efficiency. The thermostat also learns your preferences over time for automated adjustments. Save your schedule to ensure it runs seamlessly.
Testing and Quality Assurance
After installation‚ perform functional tests to ensure the Honeywell T6 Pro thermostat operates correctly. Verify heating‚ cooling‚ and scheduling features work as expected. Check for consistent performance and energy efficiency.
Functional Testing Post-Installation
After installing the Honeywell T6 Pro‚ conduct thorough functional tests to ensure all features operate correctly. Test heating‚ cooling‚ and fan modes. Verify the schedule programming and energy-saving settings. Check the thermostat’s response to temperature changes and remote access functionality if applicable. Ensure the display is clear and all buttons function properly. Perform these tests to confirm the system is working as intended and troubleshoot any issues promptly.
Verifying System Performance
After installation‚ verify the Honeywell T6 Pro’s performance by monitoring temperature accuracy and system responsiveness. Ensure the thermostat maintains the set temperature and cycles the HVAC system correctly. Check for consistent heating and cooling patterns‚ and confirm that energy-saving features are active. Review the system’s operation over a 24-hour period to ensure reliability and efficiency‚ addressing any discrepancies promptly to optimize performance.

Troubleshooting Common Issues
This section addresses frequent problems encountered during Honeywell T6 Pro installation‚ such as wiring errors or connectivity issues‚ offering solutions to restore functionality quickly.
Identifying and Resolving Errors
Common issues during Honeywell T6 Pro installation include wiring misconnections or system incompatibility. Check all connections for accuracy and ensure the system meets compatibility requirements. If errors persist‚ consult the manual or contact Honeywell support for assistance. Regularly updating software and ensuring proper electrical connections can prevent most issues. Always refer to the troubleshooting section for detailed solutions to specific error codes or malfunctioning features.
Checking for Software Updates
To ensure optimal performance‚ regularly check for Honeywell T6 Pro software updates. Navigate to the thermostat’s settings menu‚ select About Thermostat‚ and choose Check for Updates. Follow on-screen instructions to download and install the latest version. This process enhances functionality‚ improves security‚ and resolves potential issues. Perform updates periodically to maintain system efficiency and access new features.
Maintenance and Upkeep
Regularly clean the Honeywell T6 Pro thermostat to ensure optimal performance. Gently wipe the screen and check for dust buildup. Update software periodically for improved functionality.
Regular Cleaning and Inspection
Regular cleaning ensures optimal performance of the Honeywell T6 Pro thermostat. Use a soft‚ dry cloth to gently wipe the screen and exterior. Avoid harsh chemicals or liquids. Inspect the device for dust buildup‚ especially around vents or terminals. Schedule inspections every 6 months to maintain functionality. Cleaning prevents malfunctions and ensures accurate temperature readings. This simple upkeep extends the lifespan of your thermostat and maintains energy efficiency.
Updating Software
Regular software updates ensure your Honeywell T6 Pro thermostat operates with the latest features and security patches. Check for updates via the thermostat’s menu or Honeywell’s official website. Download and install the update carefully‚ avoiding interruptions to prevent system issues. Updated software enhances performance‚ compatibility‚ and energy efficiency. Always follow the manufacturer’s instructions for a smooth update process. This maintenance step is crucial for optimal functionality and user experience.
Always disconnect power before installation to avoid electric shock. Follow all safety guidelines to ensure personal and system protection during the Honeywell T6 Pro setup. Always disconnect the power supply before starting the installation to prevent electric shock. Use a voltage tester to confirm the absence of electricity. Never touch live wires or terminals. Ensure all connections are secure and properly insulated; Ground the system correctly to avoid electrical hazards. Follow local electrical codes and regulations. Keep the area dry and avoid overloading circuits. Adhere to these guidelines to ensure a safe and compliant installation process. Dispose of packaging materials responsibly‚ recycling when possible. The Honeywell T6 Pro is designed for energy efficiency‚ helping reduce environmental impact. Ensure proper installation to maintain optimal performance and minimize energy waste. Avoid damaging wiring or components to prevent unnecessary replacements. Comply with local regulations for electronic waste disposal. By following these considerations‚ you contribute to a more sustainable and eco-friendly installation process for your Honeywell T6 Pro thermostat. This checklist ensures your Honeywell T6 Pro is installed correctly and ready for optimal performance.Safety Precautions and Warnings
Electrical Safety Guidelines
Environmental Considerations
Congratulations! Your Honeywell T6 Pro is now installed.
Enjoy its intuitive interface‚ energy-saving features‚ and seamless performance.
Refer to the manual for any future adjustments or troubleshooting.Final Checklist for a Successful Installation